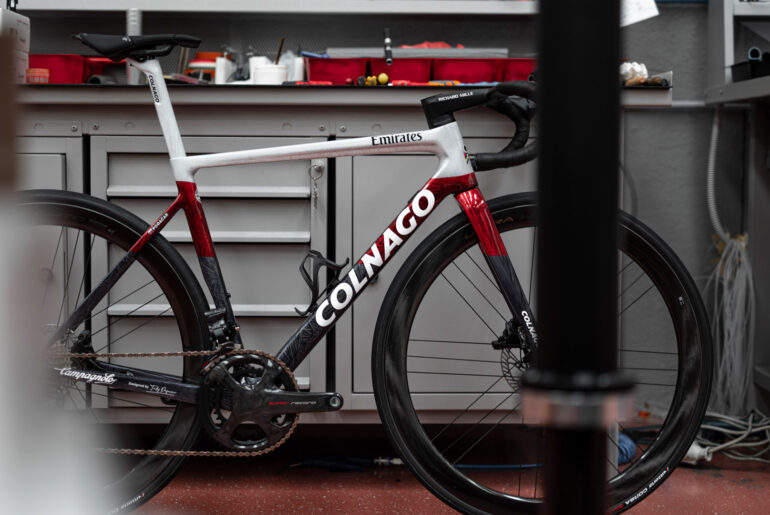
As you may already know, the Colnago C68 comes with an integrated 8-piece multi-tool (which also features spoke keys and valve core remover) courtesy of Granite Design*.
*The smaller sized frames come with a more compact 4-piece multi tool due to shorter head tubes.
It just so happens that Granite Designs is a brand that we started distributing here at Windwave a couple years ago, so we know a thing or two on how to install these.
Here’s a step-by-step guide to getting your install right, without any mechanical hiccups.
Tools you’ll need for the Colnago C68 install

- Torque wrench
- Hex key 5mm
- Hex key 6mm
- Hex key 3mm
Step 1
Remove the stem cap and make sure the steerer tube is lower than top of the stem or spacer by about 3mm. Then, remove the stem and the compression plug or star nut inside the steerer tube. Make sure the inside of the steerer tube is free from grease and debris.
Step 2


Remove the M6 bolt from the tool housing.
Step 3
Insert the tool housing assembled with the compression plug into the fork steerer. Tighten the compression plug to 8Nm with 6mm hex key.
Step 4
Pull out the tool housing and leave the compression plug within the steerer tube.
Step 5
Insert the M6 bolt through the bottom of tool housing, insert the tool housing back into the steerer tube and thread the bolt.
Tighten the bolt with 5mm hex key. You just need to apply 1 to 2Nm torque to compress the headset and remove any slack within the headset stack.
Step 6

Adjust the handlebar alignment and tighten the stem bolts according to the stem’s specification.
Step 7

Insert the multi-tool assembly and you’re good to go!
Important – usage and maintenance
You should clean the tool regularly between uses. We suggest applying a thin layer of oil onto the tool bits to prevent rust in humid condition.


