

Introduction
In this article you will learn how to make basics changes to the Form of Dynamics 365 using solutions and how to correctly migrate them from Sandbox into Live.
This guide was create to empower companies who use Dynamics 365 to be more self-sufficient and be able to undertake basic customisations without the help of a Dynamics 365 specialist.
Accessing the system
PLEASE NOTE: All changes should be made in the Sandbox environment first for testing and then migrated over to Live as best practice.
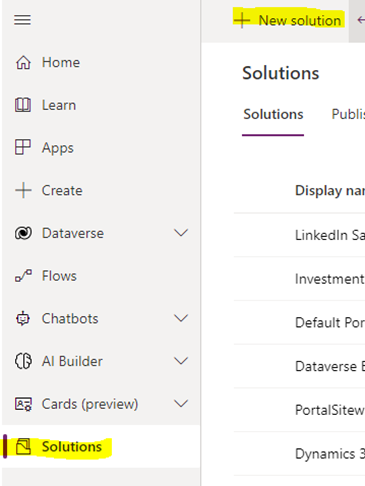
- Go to https://make.powerapps.com/ which will take you to the Power Apps Home Page, from here you will need to use the environment select in the top right corner to select the Sandbox/Dev Environment.

2. Creating a Solution and Adding Objects
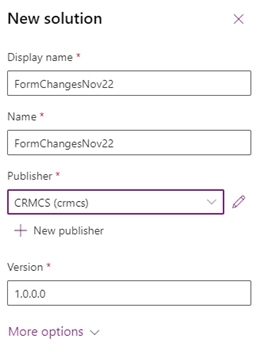
Select Solution on the far left and click New. This will open a panel on the right hand side to create a new solution. You will need to set the Display Name to something logical based off the changes your making or when your making them (i.e. if you were making them now FormChangesNov22). Publisher set to your Custom Publisher which is likely the name of your business and then click Create.
3. Allow a few seconds for the screen to refresh then you should see the Solution appear in the list, select it from the list.

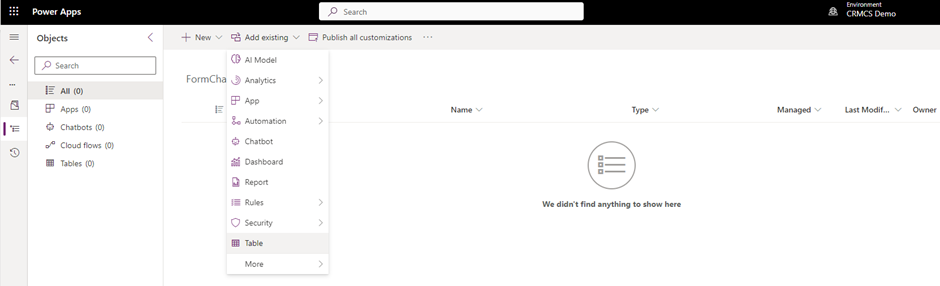
4. This will then take you inside the solution where you then need to add the Objects you wish to changes (i.e. Tables and Forms etc). To do this select “Add Existing” on the top bar then select the Object you need (for this scenario it will be Table as we need to add this to then add the form).
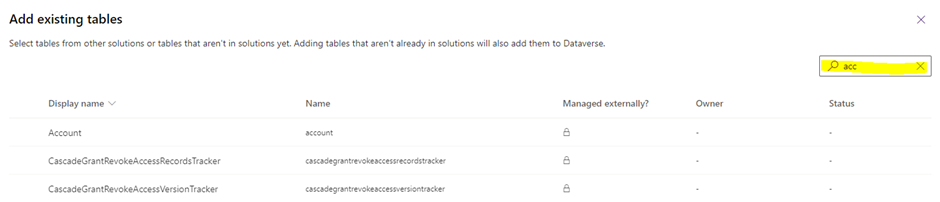
5. This will then open a new panel with all the tables, use the search box to find the tables you need (i.e. Account, Contact, Case etc) and once found click it to select, once you have selected all the tables you need click Next.
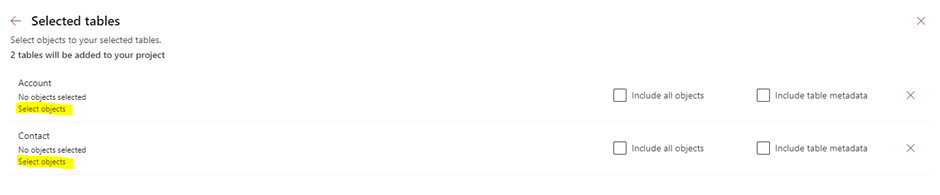
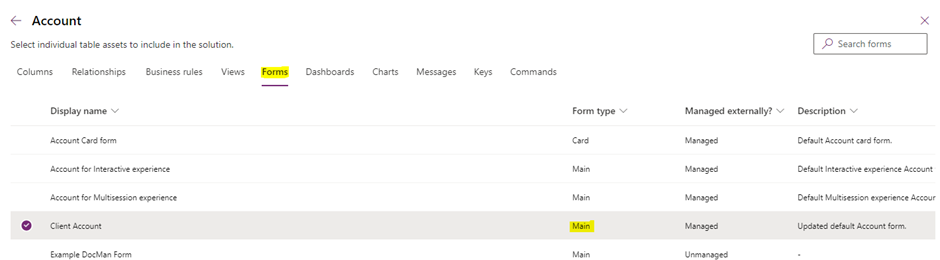
6. This then takes you to a page with the tables you have chosen, on each one you need to click Select Objects and add the Forms you wish to change by clicking on Forms at the top and then finding the correct one from the list (there can be a lot but the one your looking for will have a Form Type of “Main” and be called the same as the table. Select this and click Add.
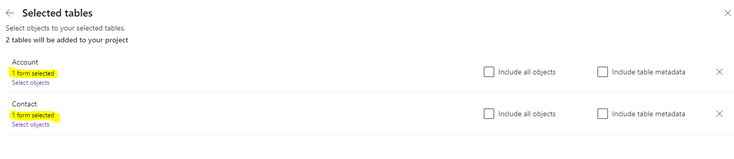
7. Then it will take you back to the previous screen where you click add again.
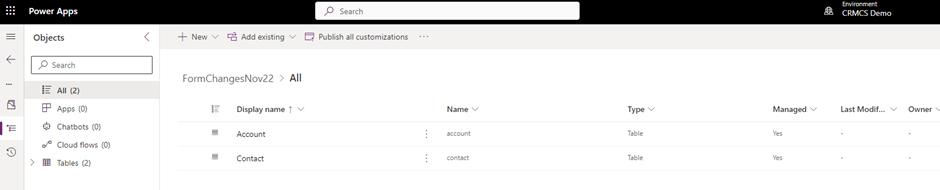
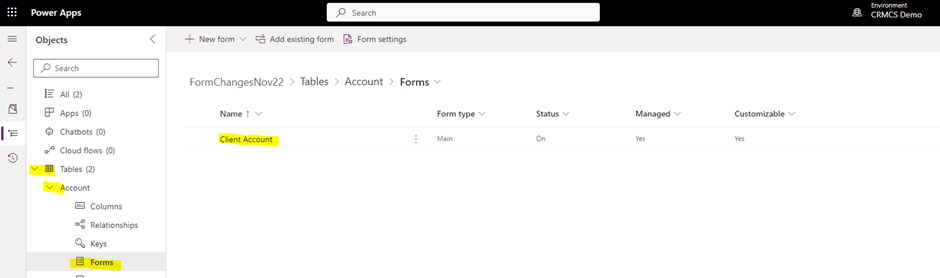
8. If all done correctly back in the screen from step 4 but with Objects.
Making Changes
9. From the menu in Step 8 you can then use the Objects menu on the left to drill down into the tables and forms to open a form to change.
10. Once you have found the object you wish to change select it to open it which will take you to a new page. For Forms the page will look very similar to what you see when using Dynamics.
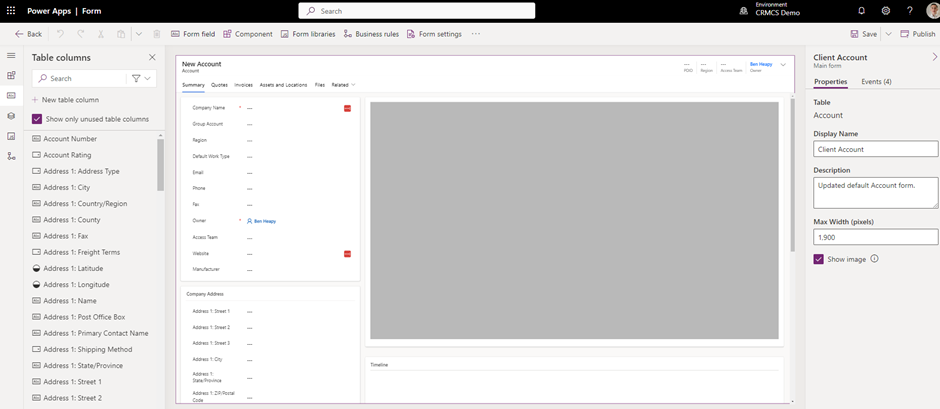
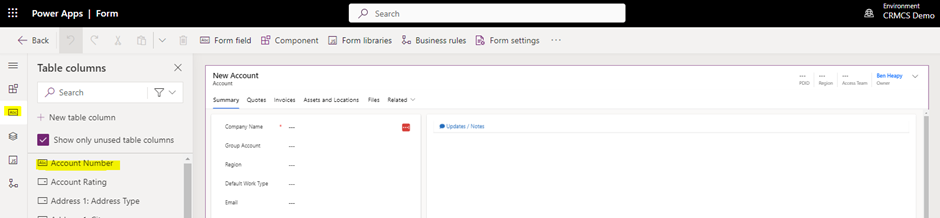
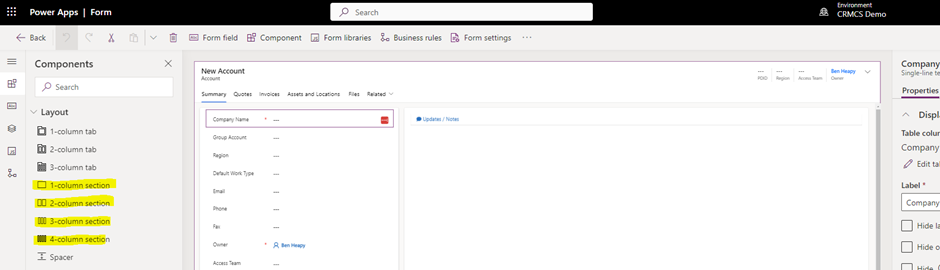
11. To move fields around you can simply just drag and drop them on the screen. To add new fields, drag and drop them from the left panel (if you cant see them select the “ABC” icon on the very far left panel).
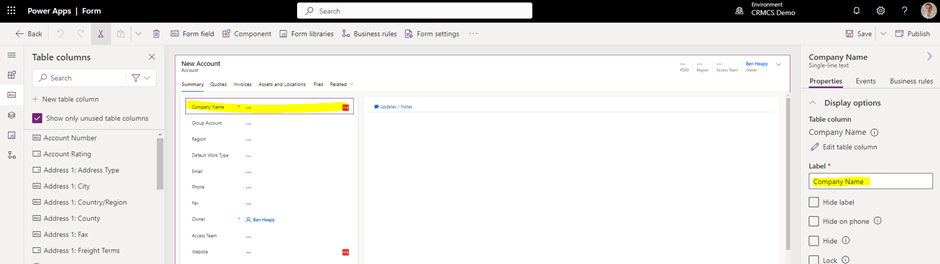
12. To change a field Name select it from the form and then use the panel on the far right.
13. To add new sections or tabs etc select the 4 square icon on the far left and select it from the list.
Saving and Publishing Changes
14. Click save in the top right corner then once the spinning wheel disappears click Publish (not this only publishes this form).

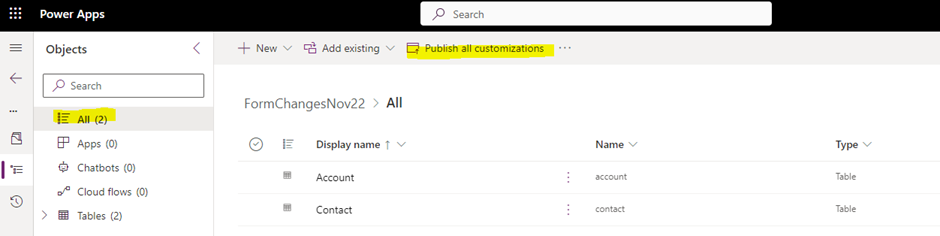
Instead of this you can just click Save then click back then continue with other Form changes and once finished you’ll be on the screen from step 8, select All at the top of the list then “Publish All Changes”.
Export/Import Solution to Live
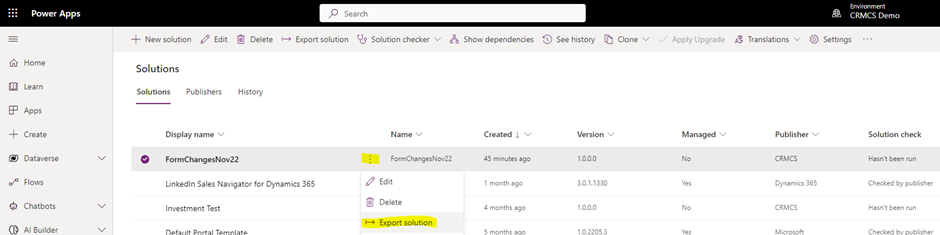
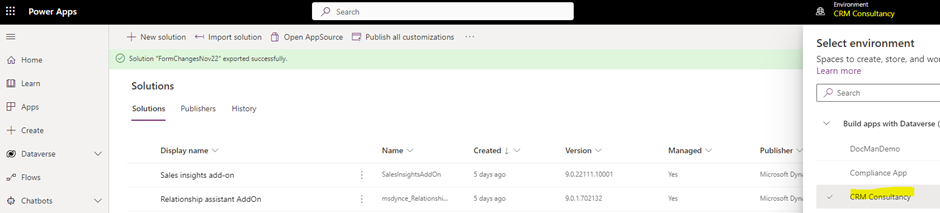
15. Go back to the Solution screen from step 2 and click the ellipsis (3 dots) next to your solution then export solution.
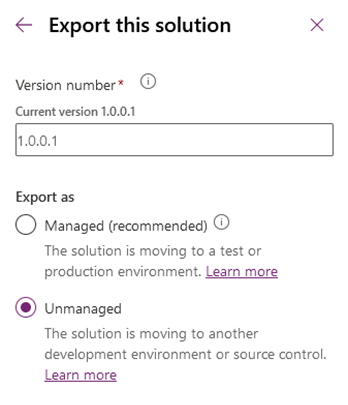
This will open a window on the right side, click Publish (this can take a little time but you do need to wait until it finishes). Once done click next, set the Current version to 1.0.0.1 and change the checkbox to “Unmanaged” so it should look like the below.
Then click Export, a grey bar will then appear towards the top of the screen saying “Currently Exporting” once complete this bar will go green and a download button will appear on the far right of the bar, click the download button.


16. Click on Environment in the top right and select the live Environment.
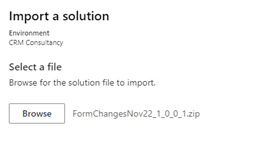
Click Import Solution on the top bar, click browse and select the .zip file you downloaded (likely in your downloads).

Click Next then click Import, a grey bar will then appear again and go green once complete (this can take sometimes to import).
We hope you found this article useful; however, if you have any questions or would like to read more CRMCS articles, please visit www.crmcs.co.uk to contact us.


